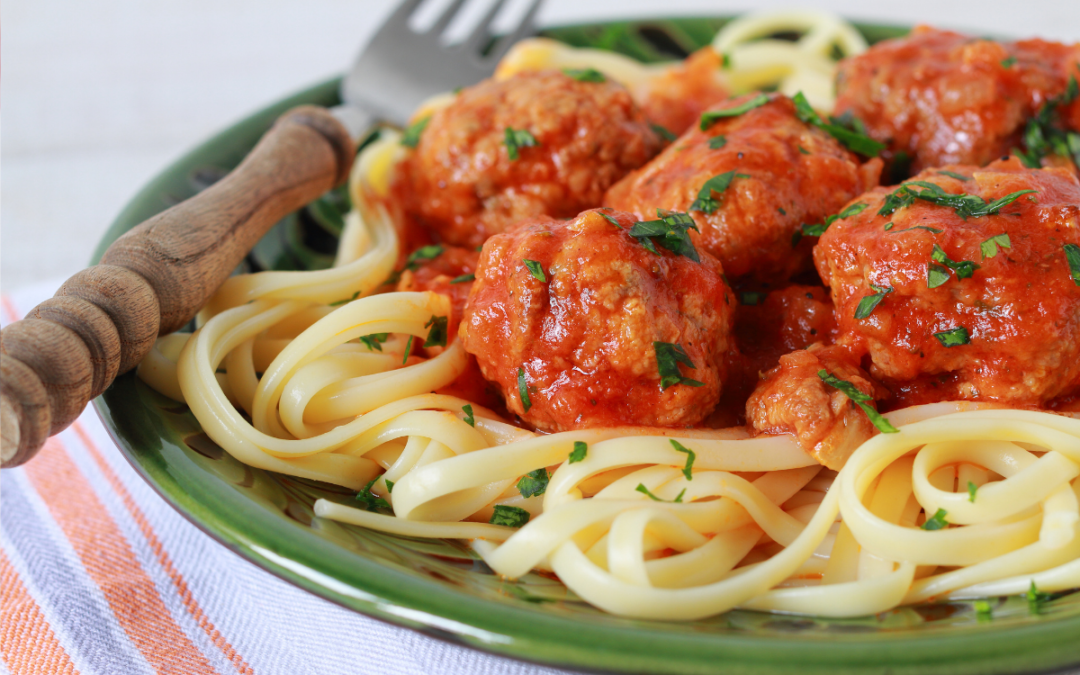
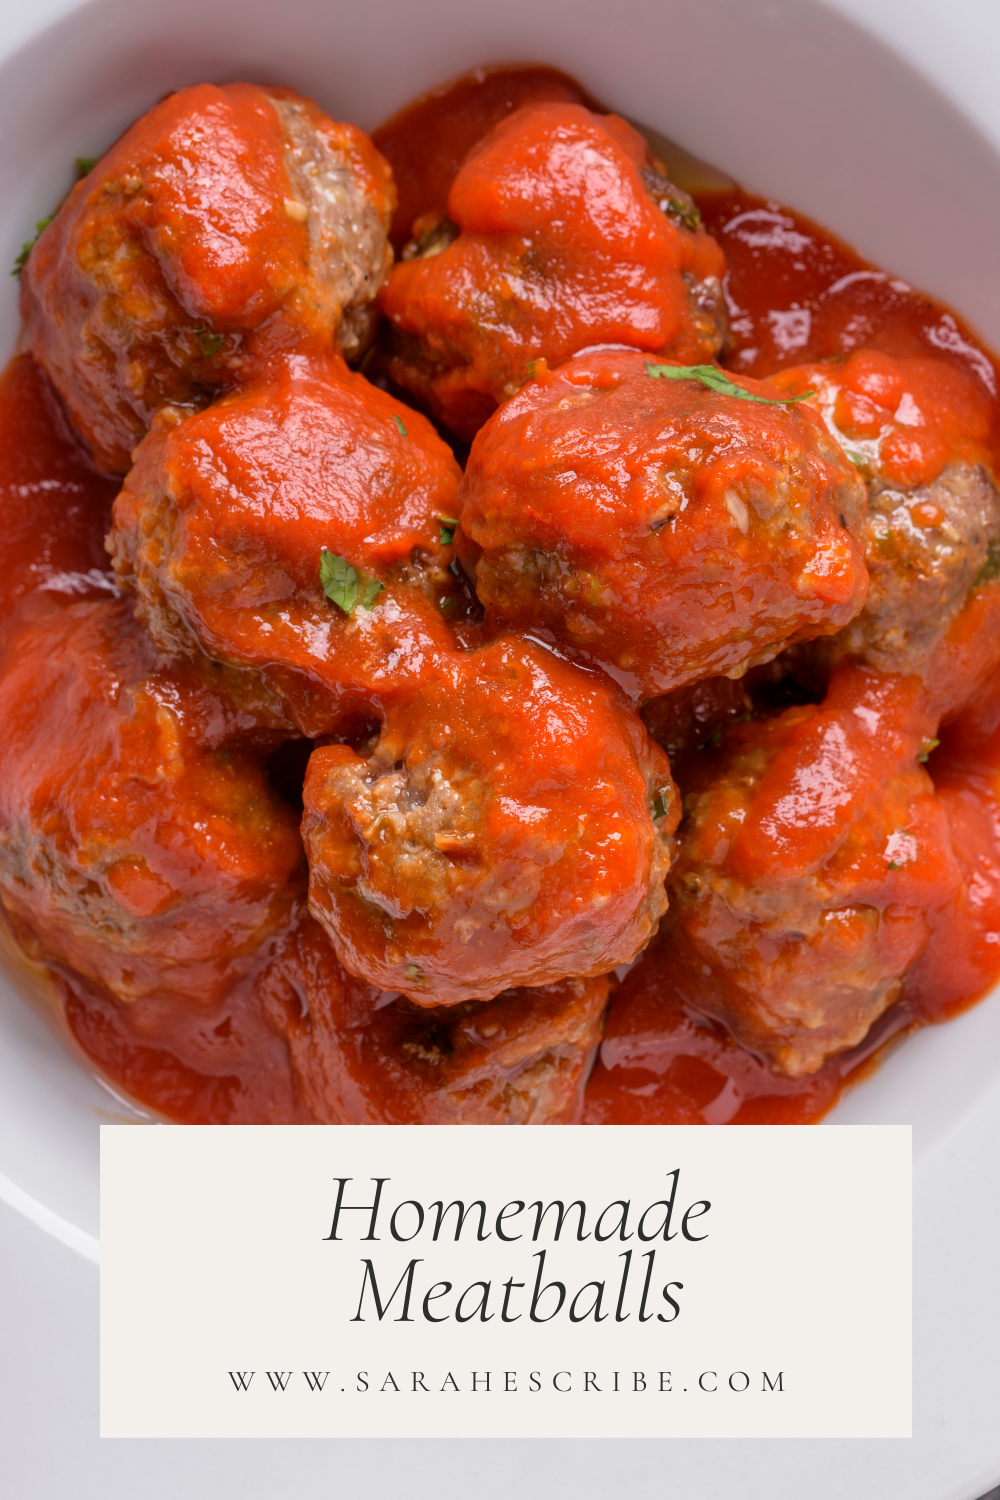
Homemade Meatballs

Homemade Meatballs

Yield

24 meatballs

Ready In:

40 minutes

About this Recipe

By: Sarah Cegelski

Homemade meatballs make spaghetti and meatballs feel special and they aren’t very hard to make! This is also a great recipe for making a ton to freeze for later, to share with a neighbor, or to turn into another dish like meatball subs or meatball pizza. 
Homemade Cinnamon Rolls

Ingredients

  • 1 lb ground pork
  • 1 lb ground beef
  • 1 1/4 c Italian seasoned bread crumbs
  • 3/4 c warm water
  • 2 tbsp chopped fresh Italian (flat-leaf) parsley
  • 1/2 c freshly grated Parmesan cheese
  • 2 tsp kosher salt
  • 1/2 tsp freshly ground black pepper
  • 1/4 tsp nutmeg
  • 1 large or extra large egg, lightly beaten

Preheat the oven to 400 degrees.

Place the ground meats, bread crumbs, parsley, Parmesan, salt, pepper, nutmeg, egg, and 3/4 cup warm water in a bowl. Combine very lightly with clean hands. Don’t make a paste; chunks of ground meat should still be visible. Using a cookie scoop that holds 1 1/2 tbsp, gently form the mixture into 1 1/2-inch meatballs. You will have about 24 meatballs.

Spray a mini muffin pan with non-stick cooking spray and place one meatball in each muffin cup. If you don’t have a mini muffin pan, place a cooling rack on top of a jelly roll pan, spray with non-stick cooking spray, and place the meatballs 1/2″ apart on the cooling rack. And, if you don’t have either one of those, line a jelly roll pan or cookie sheet with parchment paper and place the meatballs 1/2″ apart to bake.

Bake the meatballs for 20 minutes, or until golden brown and cooked through.

Cook the spaghetti or noodle of your choice (I really like fettuccine or bucatini better than spaghetti) until al dente. For the love of God, don’t kill your pasta noodles. While the pasta cooks, warm your favorite spaghetti sauce (I love Barilla Traditional Tomato and Basil or Marinara, not an ad, I don’t even know how that works.) 

When you serve each bowl of pasta, sauce, and meatballs, top with freshly grated parmesan, and if you feel fancy, garnish with a fresh basil chiffonade. For maximum carb enjoyment, serve the pasta and meatballs with crusty Italian bread drizzled with good olive oil. 

5 Easy Dinners With Chicken Tenders

5 Easy Dinners With Chicken Tenders

Inroduction

About this Recipe

I have 3 kids under 5 and a husband that works insane hours as a resident physician . . . so sometimes (okay, many times) dinner consists of mostly pre-made or no-cook items. These are some of our family’s favorite meals made with frozen, pre-cooked chicken tenders or chicken nuggets.

Chicken tenders

1.

Chicken and waffles:

Frozen chicken tenders + waffles from a box mix. 

2.

Chicken Cobb Salad:

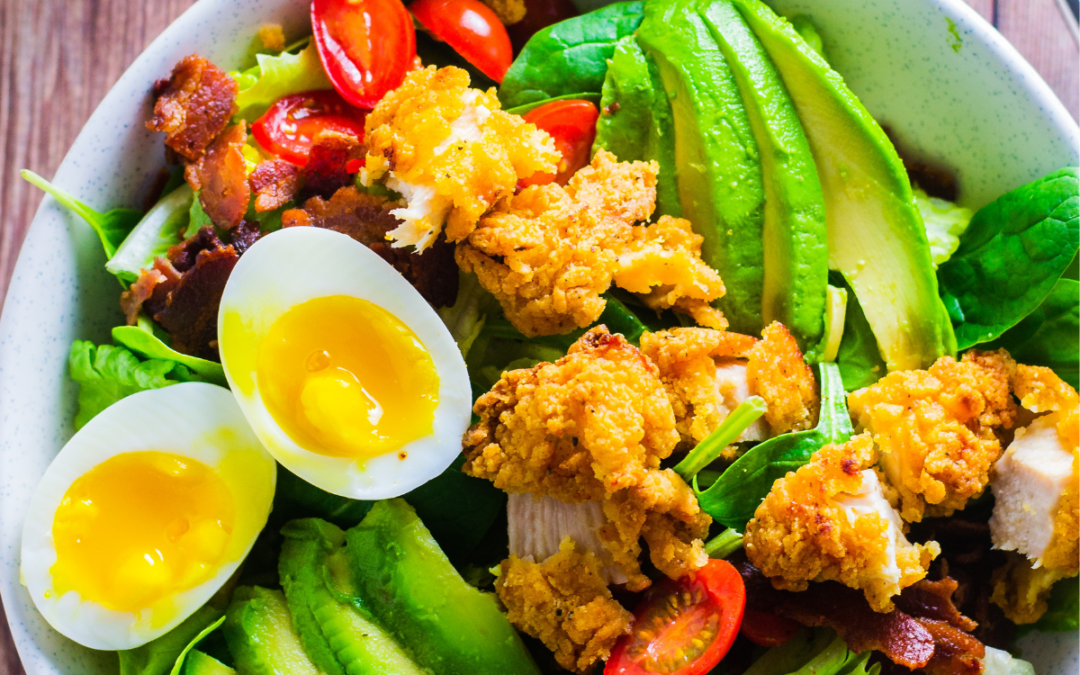
Frozen chicken tendERs + romaine + boiled eggs + bacon + avocado + tomatoes + Bleu Cheese or Cheddar + salad dressing.

3.

“Sunday Dinner”:

Frozen chicken tendERs + Green Beans + Roasted Potatoes or Pasta Salad + Rolls.

4.

Chicken TendER Baskets:

Frozen chicken tendERs + French Fries or Tater Tots + Side Salad To make you feel better about all of it.

5.

Chicken TendER Wraps:

Frozen chicken tendERs + Flour Tortilla + Lettuce + Tomato + Dressing or Buffalo Sauce.

Strawberry Summer Cake

Strawberry Summer Cake

Yield

12 servings

Ready In:

4-6 hours

About this Recipe

By: Sarah Cegelski

This is the Apffel family’s way of making strawberry poke cake. 

Strawberry Summer Cake

Ingredients

  • 1 boxed yellow cake mix, + the eggs, oil, and water to make it
  • 1 box of instant strawberry Jell-o mix, + boiling and cold water to make it
  • 1 box of instant vanilla Jell-o pudding mix, plus the cold milk to make it 
  • One 16 oz container of frozen sliced strawberries in syrup
  • 1 family-size container of Cool Whip
  • Sliced fresh strawberries, for garnish

Overnight, thaw the frozen sliced strawberries in syrup and the family-size Cool Whip in the refrigerator.

Prepare the boxed cake mix according to the directions on the box in a 9×13 pan. 

While you are waiting cake to bake, prepare the vanilla Jell-o pudding according to the directions on the box. Cover tightly with plastic wrap and refrigerate until read to use. 

When the cake is finished baking, allow it to cool for 15-20 minutes. While you are waiting for it to cool, prepare the strawberry Jell-o mixture according to the instructions on the box. This will involve combining the gelatin with the boiling water and then the cool water, but not refrigerating the mixture. 

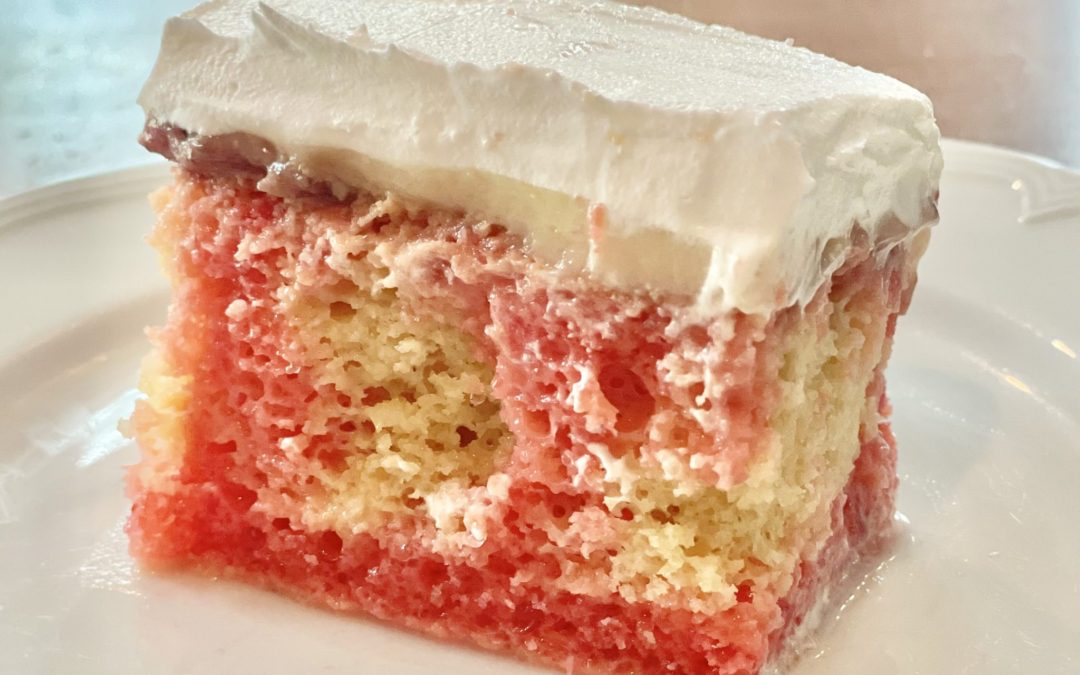
Gently poke the cake with a small metal paring knife at one-inch intervals. (I have found this avoids tearing giant holes into the warm cake). Slowly spoon the warm strawberry Jell-o liquid onto the cake, allowing it to soak in. Yes, all of it. Be sure to get all the way to the edges. You might look at it when you are finished and think, this is going to be a mushy mess. I promise, it’s not! Spoon the thawed, sliced strawberries in their syrup over the top of the cake. Yes, all of it. Yes, it is a lot of liquid. Yes, it will look like it’s going to be a mushy mess. I promise, it’s not! Cover tightly with plastic wrap and refrigerate at least one hour. 

Remove the cake from the refrigerator. Carefully spread the vanilla pudding over the top of the strawberries in syrup layer. The strawberries and vanilla pudding will sort of meld together. This is fine. 

Finally, carefully spread the Cool Whip over the top of the vanilla pudding layer until it is completely covered; it’s best to do big dollops of Cool Whip, and then connect them together with a spatula, to avoid the Cool Whip and vanilla pudding layer smushing together. You will not need the whole container, just use enough to cover the top and make it look pretty. (One regular-sized container of Cool Whip is juuuuuust enough and makes it hard to keep the pudding out of the Cool Whip layer.) Refrigerate the layered cake about 2-4 hours, or overnight.

Just before serving, garnish with sliced fresh strawberries so that everyone knows what hides underneath that beautiful fluffy white layer of Cool Whip.

Cinnamon Rolls

Cinnamon Rolls

Yield

12 large rolls

Ready In:

6-7 hours

About this Recipe

By: Sarah Cegelski

Adapted from Katie Lee Biegel’s grandmother’s recipe. These rolls are fluffy, bready, cinnamon-sugary perfection. 

Homemade Cinnamon Rolls

Ingredients

Cinnamon Rolls:

  • 1/4 c warm water
  • One 1 1/4-ounce package instant yeast
  • 1 c plus 1 tsp sugar 
  • 1 large egg, lightly beaten
  • 1/4 c vegetable oil
  • 2 tsp kosher salt
  • 1/2 c cold water
  • 1/2 c boiling water
  • 4 c all-purpose flour, plus 1/2 c or more as needed
  • 2 tbsp ground cinnamon
  • 1 stick unsalted butter

Icing:

2 c confectioner’s sugar

4 tbsp milk


Set up your stand mixer with a metal bowl and dough hook. Add the yeast to the bowl and gently combine with one teaspoon of sugar, then add the warm water. Don’t make the water too hot, or the yeast will die. Let it bloom for 5 minutes. If it doesn’t bloom, toss it and start over.

While you are waiting for the yeast, boil the water. In a medium bowl, stir the 1/2 cup sugar, egg, and oil. Add the cold water and stir. Slowly drizzle the boiling water into the mixture, stirring as you go so you don’t scramble the egg. Add this to the yeast mixture and stir until combined. With the stand mixture on low speed, slowly at 4 cups of flour, one cup at a time, until incorporated.

Let the stand mixer knead the dough for about 5 minutes, adding another 1/2 cup of flour or more so that the dough comes together in the bowl and isn’t too sticky. Put the dough in a large, clean bowl and cover with plastic wrap. Let it rise, either on the countertop or in the refrigerator, about 3 hours until it has doubled in size.

Combine the remaining sugar and the cinnamon and set aside. Melt a stick of butter and use 2 tablespoons to grease the bottom and sides of your baking dish or foil pan with a pastry brush.

After the dough is done rising, punch it down a bit, take it out of the bowl and place it on a lightly floured countertop. Use a rolling pin to roll it to a rectangle of about 20 by 10 inches. I like to go a bit larger, around 22 by 12 inches, so that I can cut off the ends that aren’t as pretty before I cut the log into even rounds. If you roll it much bigger than 22 x 12 inches, you will have thinner dough/more layers, which tends to make a drier cinnamon roll. I prefer the fewer, softer layers.

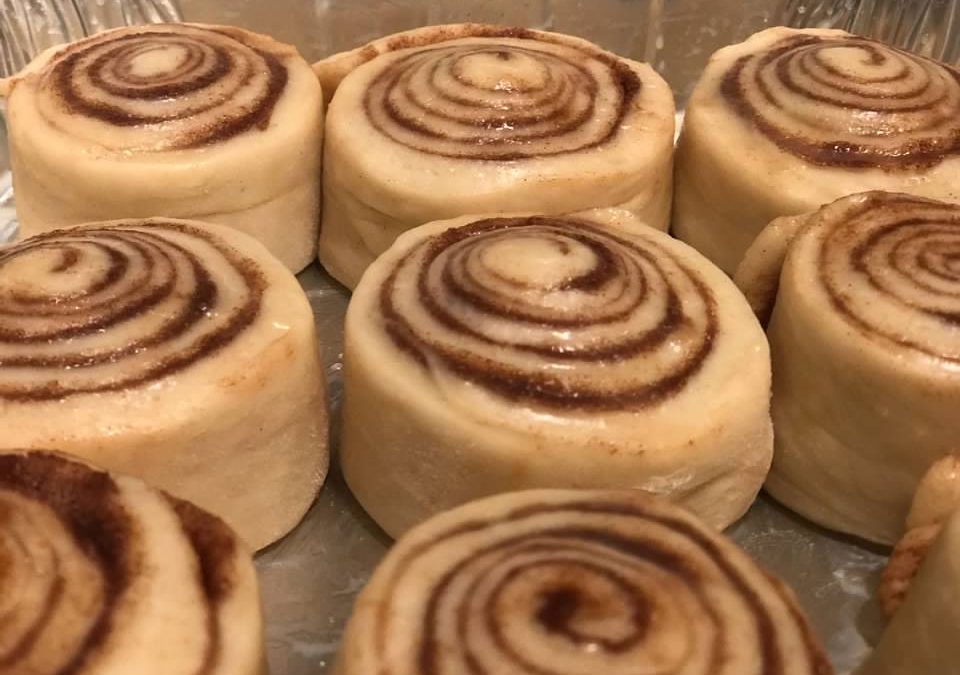
Pour 4 tablespoons of melted butter onto the rectangle of dough and spread evenly, all the way to the edges. Sprinkle the cinnamon sugar mixture on top, again going all the way to the edges. It’s a mess – go with it. With the long edge facing you, roll the dough into a tight log, working side to side like a typewriter. With the seam down, gently squeeze the log seal it. Slice off the uneven ends so you start with a nice, even cylinder. Use a measuring tape to mark off 12, 2 inch rounds (give or take a 1/2 inch each) then slice at the marks with a sharp knife.

Place the rounds, cut-side down, onto the baking dish. Brush the tops of the rolls with the remaining melted butter. Cover the top with plastic wrap and allow the rolls to rise 1 1/2-2 hours. If you want to save them for another day, add a layer of foil over the plastic wrap and put the pan of un-risen rolls into the freezer; the night before you want to serve them, let them thaw and rise on the countertop overnight, then proceed to bake as directed.

Preheat the oven to 350 degrees. Bake the rolls about 35-40 minutes until the tops are golden brown.

While the rolls are baking, make the icing. Sift the confectioner’s sugar into a small bowl so there are no lumps, then add the milk and stir until combined and smooth. When the rolls are finished baking, let them cool for five minutes and then pour the icing on the warm rolls. Serve while warm.

If you want to serve the baked cinnamon rolls at a later time, let them cool and simply cover with foil and warm in the oven later. Or, when cool, wrap in plastic wrap and then foil and freeze. The night before you want to serve them, let them thaw on the countertop overnight, remove the plastic wrap, cover lightly with new foil and warm in the oven. 

Hummus

Hummus

Yield

About 4.5 cups

Ready In:

10 min

About this Recipe

By: Sarah Cegelski

Adapted from Ina Garten’s hummus recipe, this version is just as simple and makes enough for a crowd. It couldn’t be easier, and it’s my new go-to dinner party dish!

Hummus Recipe

Ingredients

  • 8 cloves fresh garlic
  • 2 cans garbanzo beans, drained, liquid reserved 
  • 3/4 c freshly squeezed lemon juice (about 4 lemons)
  • 2/3 c tahini (sesame paste)
  • 4 tbsp water or liquid from beans
  • 3 tsp kosher salt
  • Paprika, for garnish
  • Good olive oil, for garnish

Turn on the food processor, fitted with the steel blade. Drain the garbanzo beans and reserve a little bit of the liquid from the can. Smash the garlic cloves and toss them in the processor bowl, along with the drained garbanzo beans. Pulse the processor until they are minced. If the tahini has separated, stir well before measuring. Add the lemon juice, tahini, salt, and water or bean liquid, and puree until the hummus is smooth and creamy. Taste, for seasoning, and adjust salt or liquid to your liking.

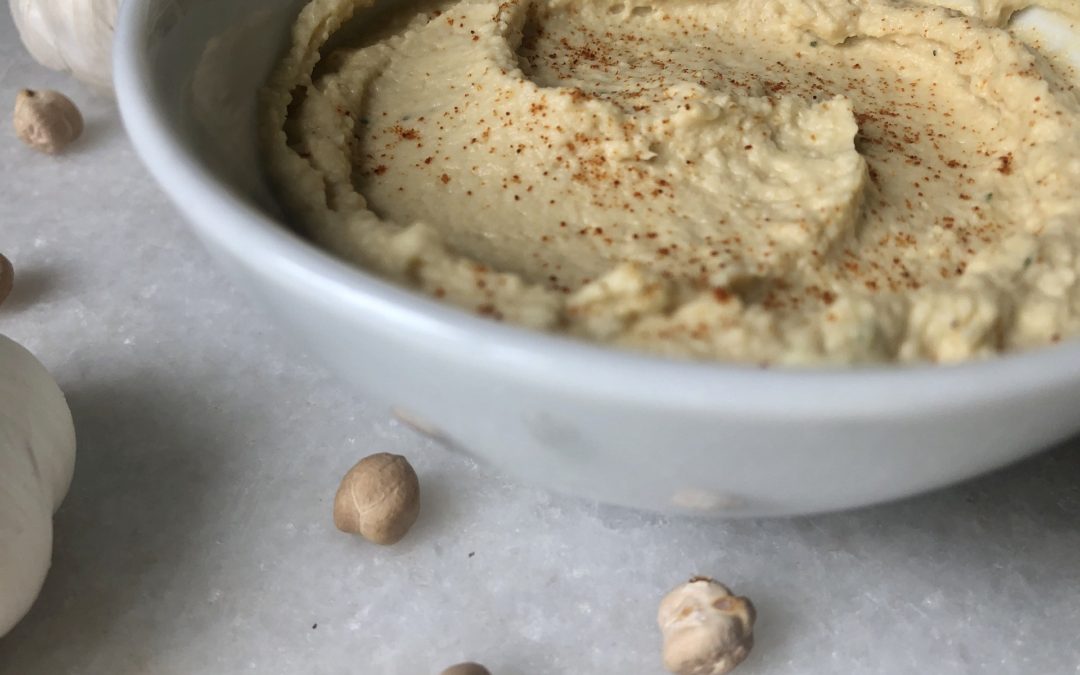
Serve in a large bowl, with a sprinkling of paprika and/or a generous drizzle of good olive oil. Perfect with pita chips or freshly-cut crudités.

Pin It on Pinterest